The Best Vanilla Cake (Soft and Buttery Vanilla Cake)
The Best Vanilla Cake (Soft and Buttery Vanilla Cake)
If you’re looking for the BEST Vanilla Cake recipe for delightfully soft, buttery classic vanilla cakes then you’ve come to the right place!
I’ve shared all my tips (for every step) for getting the best results when making a homemade vanilla cake.
This is a comprehensive guide to making delicious vanilla cake as an 8 inch cake, 9 inch cake, sheet cake, or even cupcakes, with chocolate OR vanilla frosting!

Every cake baking adventure starts with a good vanilla cake! It’s the universally loved cake flavor that acts as a great canvas on which to build other flavors. So today, I’m going to be talking about how to make the BEST Vanilla Cake recipe ever!
It’s the first cake that I learnt to bake, and it’s still my go-to, especially since K loves it too. Here, I’ll be sharing STEP BY STEP instructions on how to make this amazing homemade vanilla cake that’s sure to be a family favorite for you! Plus, I’ll be sharing a couple of simple variations on this classic vanilla cake recipe as well. These variations include a simple citrus scented vanilla cake, and a classic Sri Lankan ribbon cake!
So why is this the Best Vanilla Cake recipe?
It’s so buttery!
The cake is light, with a great crumb and is moist too!
It’s perfect for layer cakes, sheet cakes or even as cupcakes!
So let’s talk about how we achieve Vanilla Cake Perfection, step by step.
STEP ONE – Mixing the butter + oil + sugar
When oil is used in a cake, the resulting cake has a softer texture and a lighter crumb. Because there are no milk solids in oil (unlike in butter), it allows the cake crumb to be finer and lighter. When you use butter on the other hand, the resulting crumb is more dense, and there’s more moisture in the cake too. This is due to the milk in the butter which contributes to the dense crumb. However, it adds more flavor than oil as well. So while I do love an all butter cake, I prefer using BOTH butter and oil for my homemade classic vanilla cake, because this way I get the best of both worlds – plenty of flavor AND a delightfully light texture.
There are TWO ways to START making this homemade vanilla cake. That’s either by mixing the melted butter + oil with the sugar (you wouldn’t need a hand-mixer for this, you can use a whisk instead), OR by creaming the room temperature butter + oil with the sugar by using a hand-mixer or stand mixer. These two methods will result in vanilla cakes that are SLIGHTLY different in texture as explained below.
Melted butter + oil + sugar + mixed with a whisk – since air is not being incorporated into the batter here, the cake will not have the same height as in the other method, and the cake crumb will be slightly fudgy (or more dense).
Softened butter + oil + sugar + creamed with a hand mixer – as air is being incorporated into the batter, the resulting cake will have more height, and be a little lighter.
STEP TWO – Adding the eggs
You can add all of the eggs together OR add them separately. I prefer adding them one at a time (it’s what my mother taught me too), mixing in each egg before adding the next. This also comes down to incorporating air into the batter so that you have a lighter and fluffier cake.
STEP THREE – Adding the milk/buttermilk + VANILLA!
There are two ways in which you can add the milk to the batter as well. You can either alternate between adding the milk and the flour, OR you can add all of the milk first, mix it in, and then add the flour.
You can also choose between buttermilk, or full cream milk (or half and half) mixed with vinegar or lemon juice. This choice won’t affect the quality of your vanilla cake however.
One of the most important steps in a vanilla cake is obviously the vanilla! So make sure to add a GOOD vanilla extract because this can make or break the flavor of your homemade vanilla cake. A lower quality vanilla (imitation vanilla) will really amplify the compromised flavor of your cake.
So look for a VANILLA EXTRACT, rather than imitation vanilla. Better yet, look for Madagascar bourbon vanilla, which is the most flavorful of vanilla extracts. You can use vanilla bean paste (or fresh vanilla) as well if you choose.

STEP FOUR – Adding the flour + leavening agents to your vanilla cake batter
Sift the flour + baking powder together. This is important because it evenly mixes the ingredients together and removes lumps. If you’re like me, and don’t feel like sifting the flour sometimes (especially if the flour is pre-sifted), then place the dry ingredients together and whisk it all together. This allows the flour and baking powder to be evenly distributed when you fold them into the cake batter.

I like to add the flour into the vanilla cake batter in 2-3 additions, so that I can make sure each addition is well incorporated into the batter and most importantly, there are no lumps. While I like to use a whisk or spatula to fold in the flour, you can use a hand-mixer or stand-mixer (for double batches) on the LOWEST SPEED.
However, keep in mind that the more you mix the flour, the more you “work” the flour, and the more you develop the gluten which will result in a tougher cake. So it’s important that you only mix the flour until it’s incorporated. Another option would be use CAKE FLOUR instead of all-purpose flower which has less gluten than AP flour.
STEP FIVE – Baking the cake
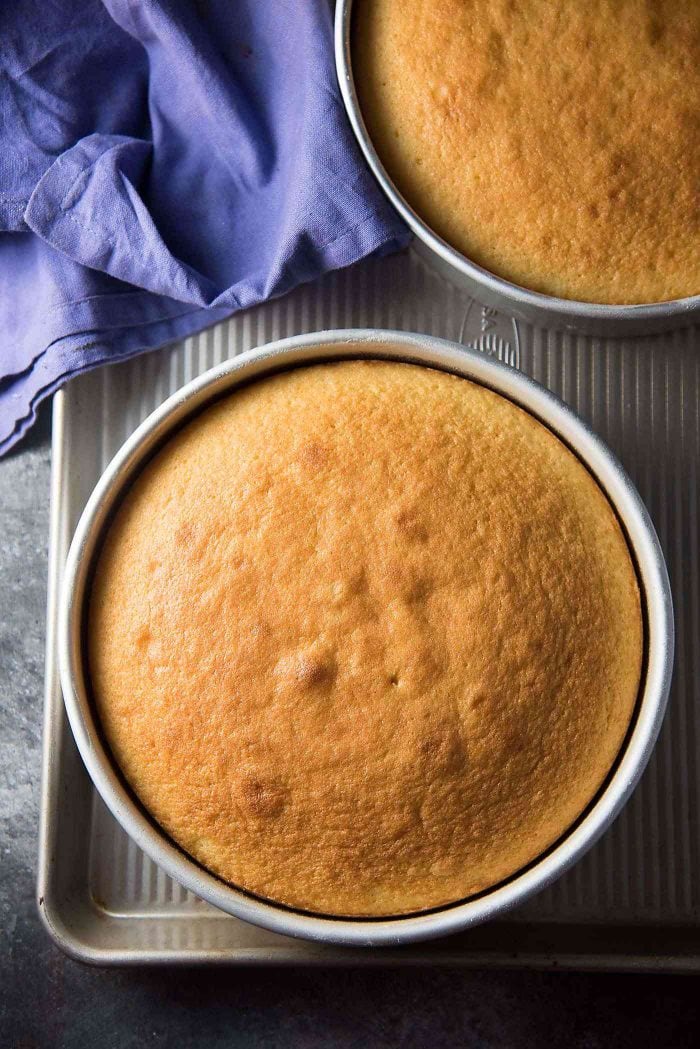
I baked this cake in 8 inch pans for a 2-layered cake. But you might ask – can I bake this cake in a 9 inch pan or as a sheet cake? Why yes, you totally can!

2 x 8 inch pans = bake for 25 – 30 minutes (mine takes about 27 minutes).
2 x 9 inch pans = bake for 20 – 25 minutes (mine takes about 22 minutes).
9 x 13 cake pan (for a sheet cake) = bake for 30 – 35 minutes (mine takes about 32 minutes).
Cupcake pans = bake for about 15 – 20 minutes (mine take about 17 minutes).
How to prepare cake pans for baking?
Preparing the cake pan for this easy vanilla cake is simple, but it’s probably my least favorite part as well. My sister used to be my designated pan preparer, but now I got to do it myself.
I find that parchment paper makes my job easy. I ALWAYS line the bottom of the pan with parchment paper. For round pans, I butter and flour the sides, but I usually use parchment paper to line the sides of square or rectangle pans. I just go with whichever feels convenient at that moment in time. I personally don’t like using non-stick sprays for my cake pans, but you CAN use baking goop if you like (homemade non-stick paste), and this recipe from I am Baker would be a recipe that I trust.
Could or should I use even baking strips?
YES! You can use baking strips for a more even, flat surface on your cake. I do use them when I want to make a naked cake (baking strips keep the sides from turning brown and helps keep the cake surface flat). But I don’t use them for home baking, just out of convenience.
How do I know if my cake is done?
I prefer baking my cakes at 325°F because it bakes the cake more evenly, even though it takes just a tad longer.
The best way to tell if your cake is done is by pricking the center of the cake with a toothpick or cake tester. If it comes out clean, then the cake is ready!
How can I test the cake done-ness WITHOUT pricking the cake?
If the center of the cake is baked, it won’t wiggle when the pan is gently shook. And if you press the center of the cake surface, and if the surface springs back up, then also the cake is done. But if that indentation remains, then the cake could use a few more minutes of baking.
Just make sure to check the cake regularly towards the end to avoid over-baking the cake. Because over-baked cake = dry cake!

STEP SIX – Decorating the cake
The good news is that there aren’t really any rules when it comes to decorating your homemade vanilla cake! Well, other than just waiting till the cake has cooled down completely. Once it has, you’re good to go! Because if the cake is warm, the frosting will melt, and that’s obviously no good.
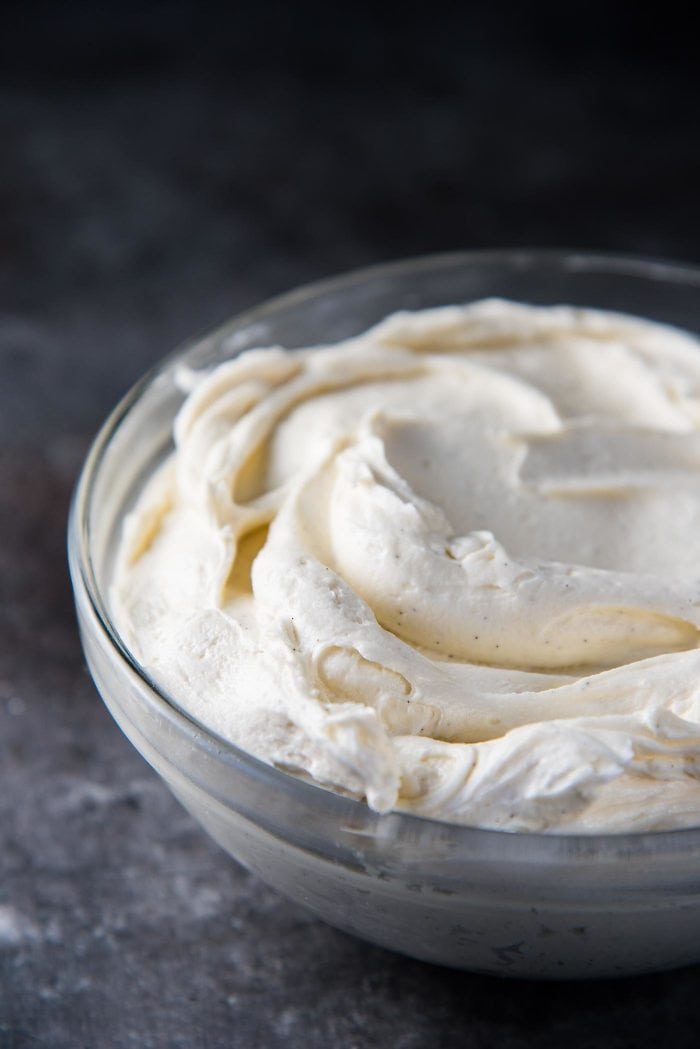

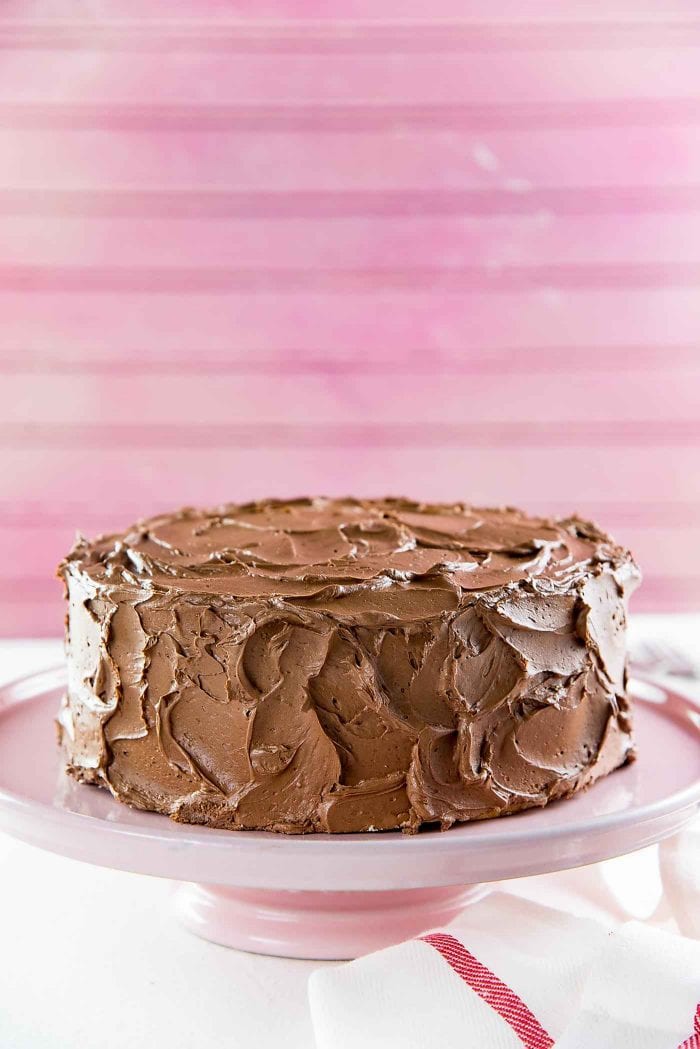
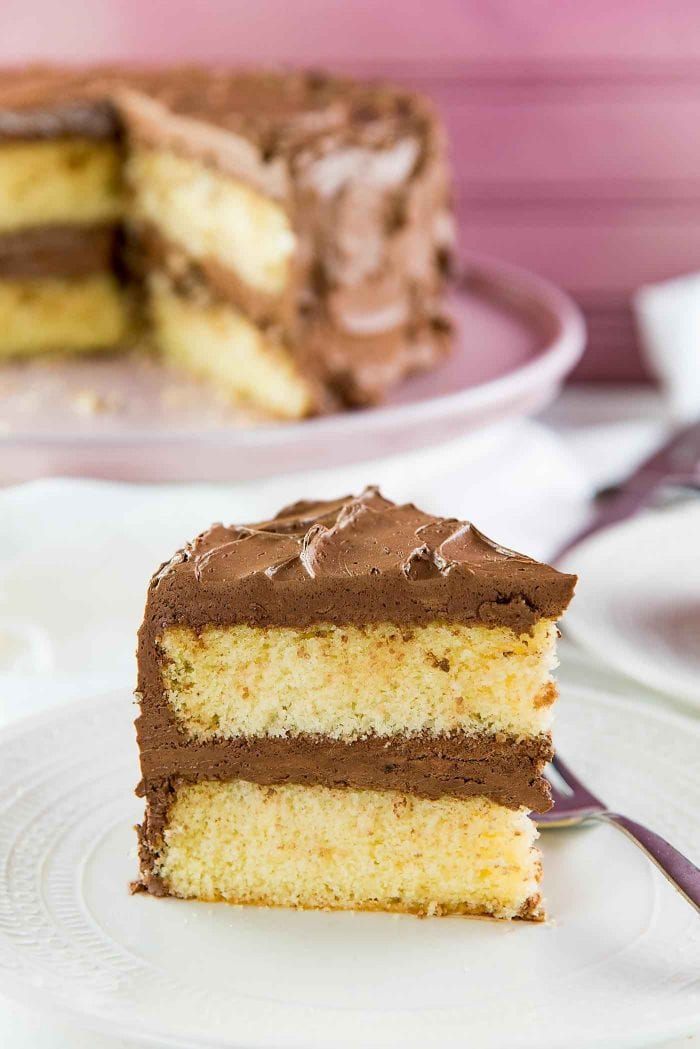
You can decorate your vanilla cake with my classic vanilla buttercream frosting or my classic chocolate buttercream frosting (I used a chocolate frosting for the cake in this post).

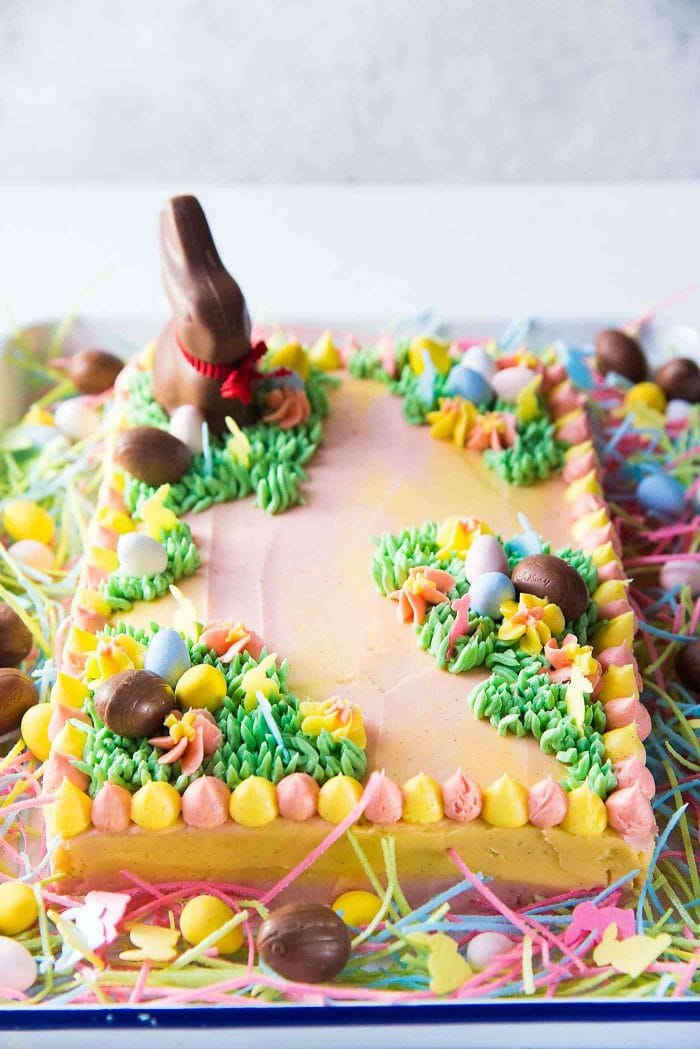
You can create a water color effect on your cake too, by following the method that I used in this fun Easter cake here.

Or use Swiss meringue buttercream like in this Raspberry cake with rose Swiss meringue buttercream.
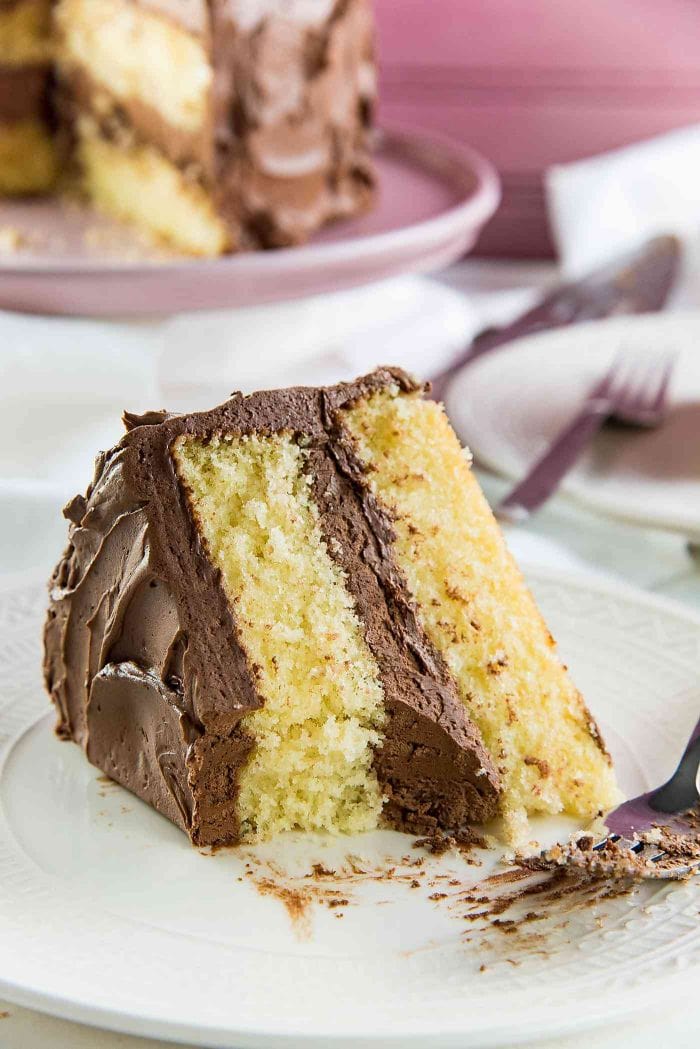
The result is seriously THE BEST VANILLA CAKE EVER! A deliciously buttery, light and soft vanilla cake that is to die for! Plus it’s so simple to make too!
My favorite way to eat vanilla cake is with chocolate frosting, as in this vanilla cake in this post. I love the contrast of the sweet vanilla-flavored cake with the bittersweet chocolate frosting. But it does taste absolutely delicious with a classic vanilla frosting too (like these cupcakes in this post).
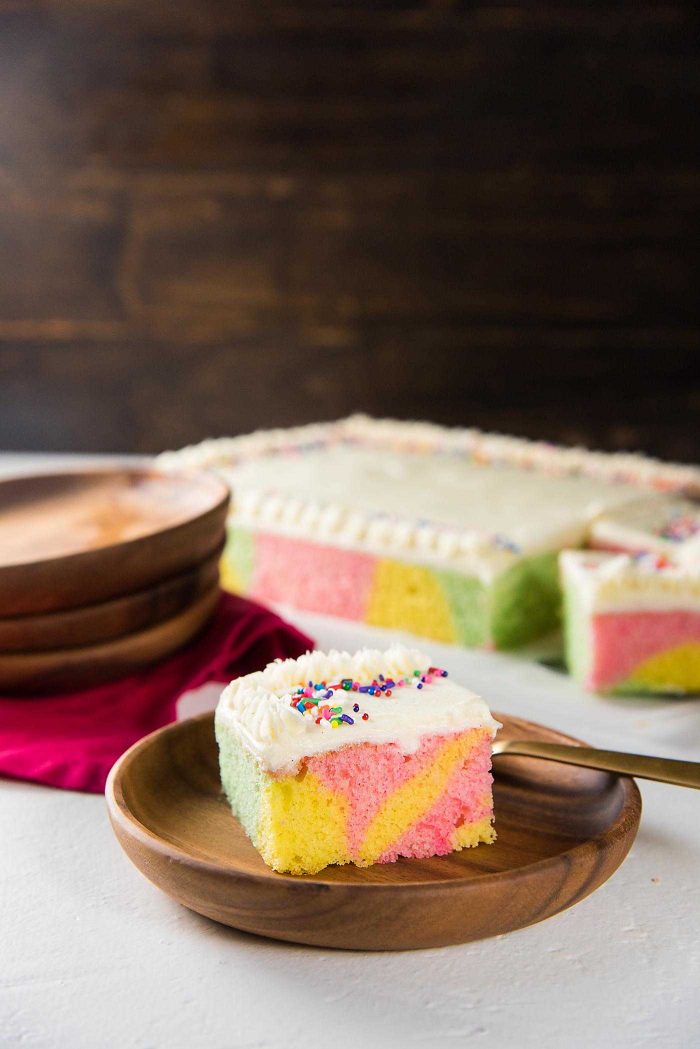
When I was living in Sri Lanka, we used to make vanilla cakes that were colored and swirled into what we called “ribbon cakes”! This was a very popular and whimsical option for birthdays and celebrations. AND YOU CAN NOW MAKE THIS AT HOME WITH THIS RECIPE!
Which is your favorite way to eat Vanilla Cake? Mine is definitely with Chocolate frosting!
If you love cake, then you will absolutely love my new cookbook Secret Layer Cakes!
If you don’t have a copy, then you really really should get one NOW! That is, if you like combining a fantastic array of delicious flavors and textures and different types of dessert into outrageously inventive cakes (that’s where the idea of secret layers comes from!), that are also surprisingly easy. There are 60 recipes in the book for cheesecakes, no bake cakes, ice cream cakes and all types of dessert mash ups, like this Fudgy S’mores Brownie Pie here.

THE BEST VANILLA CAKE
COURSE: DESSERT
CUISINE: OTHER
PREP TIME: 25 MINUTES
COOK TIME: 30 MINUTES
TOTAL TIME: 55 MINUTES
SERVINGS: 12 PEOPLE
CALORIES: 300 KCAL
AUTHOR: DINI
Best Vanilla Cake - delightfully soft, buttery, classic vanilla cake with a creamy chocolate or vanilla frosting! With heaps of tips to get perfect cakes every single time.
INGREDIENTS
VANILLA CAKE
- 4 oz unsalted butter at room temperature
- ½ cup oil can be substituted with 4 oz/115 g of butter
- ½ tsp salt
- 10.5 oz white sugar 1 ½ cups
- 4 large eggs room temperature
- ¾ cup milk + 2 tsp white wine vinegar or apple cider vinegar
- 2 tsp vanilla extract
- 11.1 oz AP flour 2 ½ cups
- 2 ½ tsp baking powder
BUTTERCREAM FROSTING OPTIONS
- 1 recipe Vanilla Buttercream Frosting OR
- 1 recipe Chocolate Buttercream Frosting
US Customary - Metric
INSTRUCTIONS
VANILLA CAKE
- Preheat the oven to 325°F. Line the bottom of two 8 inch pans with parchment paper, and butter and flour the sides. Set aside. (See recipe notes for baking instructions for 9 inch pans, cupcake pans or 9 x 13 inch pan).
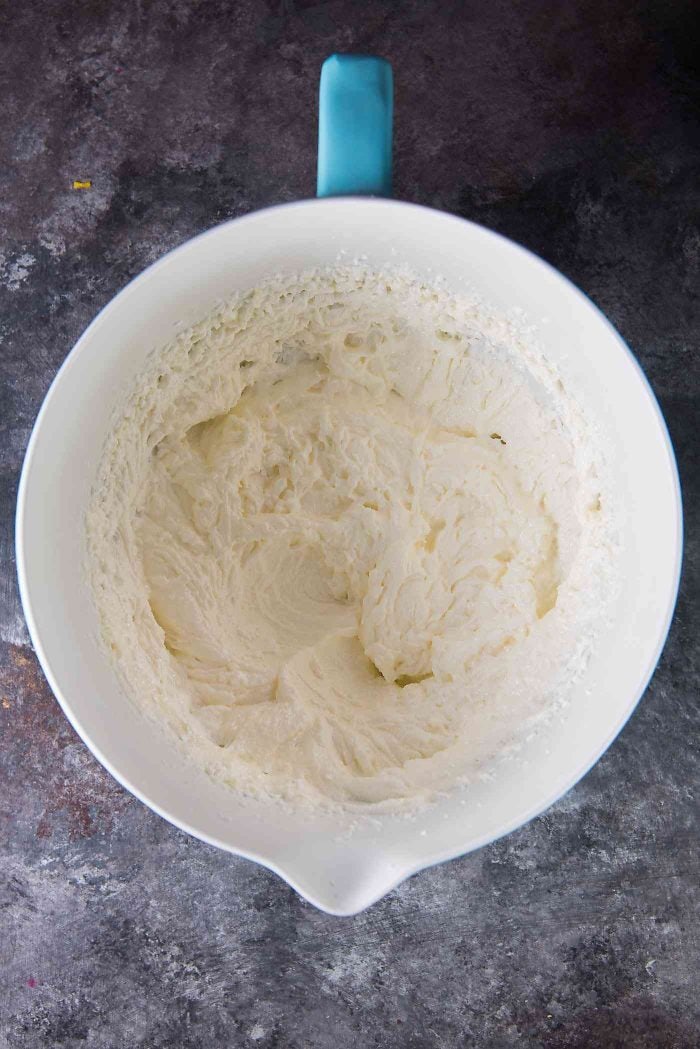
- Whisk the butter, oil, salt and sugar until the mix is creamy and fluffy.
- Add the eggs, one at a time, mixing well between each addition. Mix in the milk (and vinegar) mix and vanilla.
- In a separate bowl, sieve the flour and baking powder together and whisk to combine.
- Fold the flour into the wet ingredients in 2 - 3 additions, and mix until just combined.
- Pour the batter into the two prepared pans.
- Bake in preheated oven for about 25 - 30 minutes, rotating the pan halfway through baking time. (See notes for baking instructions for 9 inch pans, cupcake pans or 9 x 13 inch pan).
- The cake should be springy to the touch (when you gently touch the middle of the cake, it should spring back up). Remove the cake from the oven and let it cool slightly in the pan. While still warm, turn the cake out onto a wire rack and let it cool down completely.
RIBBON CAKE INSTRUCTIONS
Please see recipe here for instructions to make Ribbon Cakes
DECORATING OPTIONS (WITH CHOCOLATE FROSTING)
- Place one cake layer on a cake serving plate or decorating plate. Place about 1/2 - 3/4 cup of the frosting on top of this cake layer and spread it evenly. You can choose to add a little more of the frosting if you like.
- Place the second cake layer on top and press it down gently to make sure the cake layers stick together. Apply a thin coating of the frosting to completely cover the cake. This is the crumb coating. Allow the crumb coating to set in the fridge for a few minutes.
- Spread the rest of the frosting over the cake evenly. Use an offset spatula to create swirls for an old fashioned cake look OR use a bench scraper or spatula to smooth out the frosting.
RECIPE NOTES
- Baking time for 9 inch cake pan - 20 to 25 minutes baking time. Remember to rotate half way through.
- Baking time for cupcake pan - fill the cupcake liner with the batter about 2/3 of the way. Bake for 15 to 20 minutes. Remember to rotate half way through. Makes 12 cupcakes.
- Baking time for 9 x 13 inch pan - 28 to 33 minutes. Remember to rotate half way through.

If you liked this cake, and like Easter chocolates, then you will LOVE this Swirled Pastel Eastercake!
more recipes @ https://www.theflavorbender.com
BERITA LENGKAP DI HALAMAN BERIKUTNYA
Halaman Berikutnya
0 Response to "The Best Vanilla Cake (Soft and Buttery Vanilla Cake)"
Posting Komentar